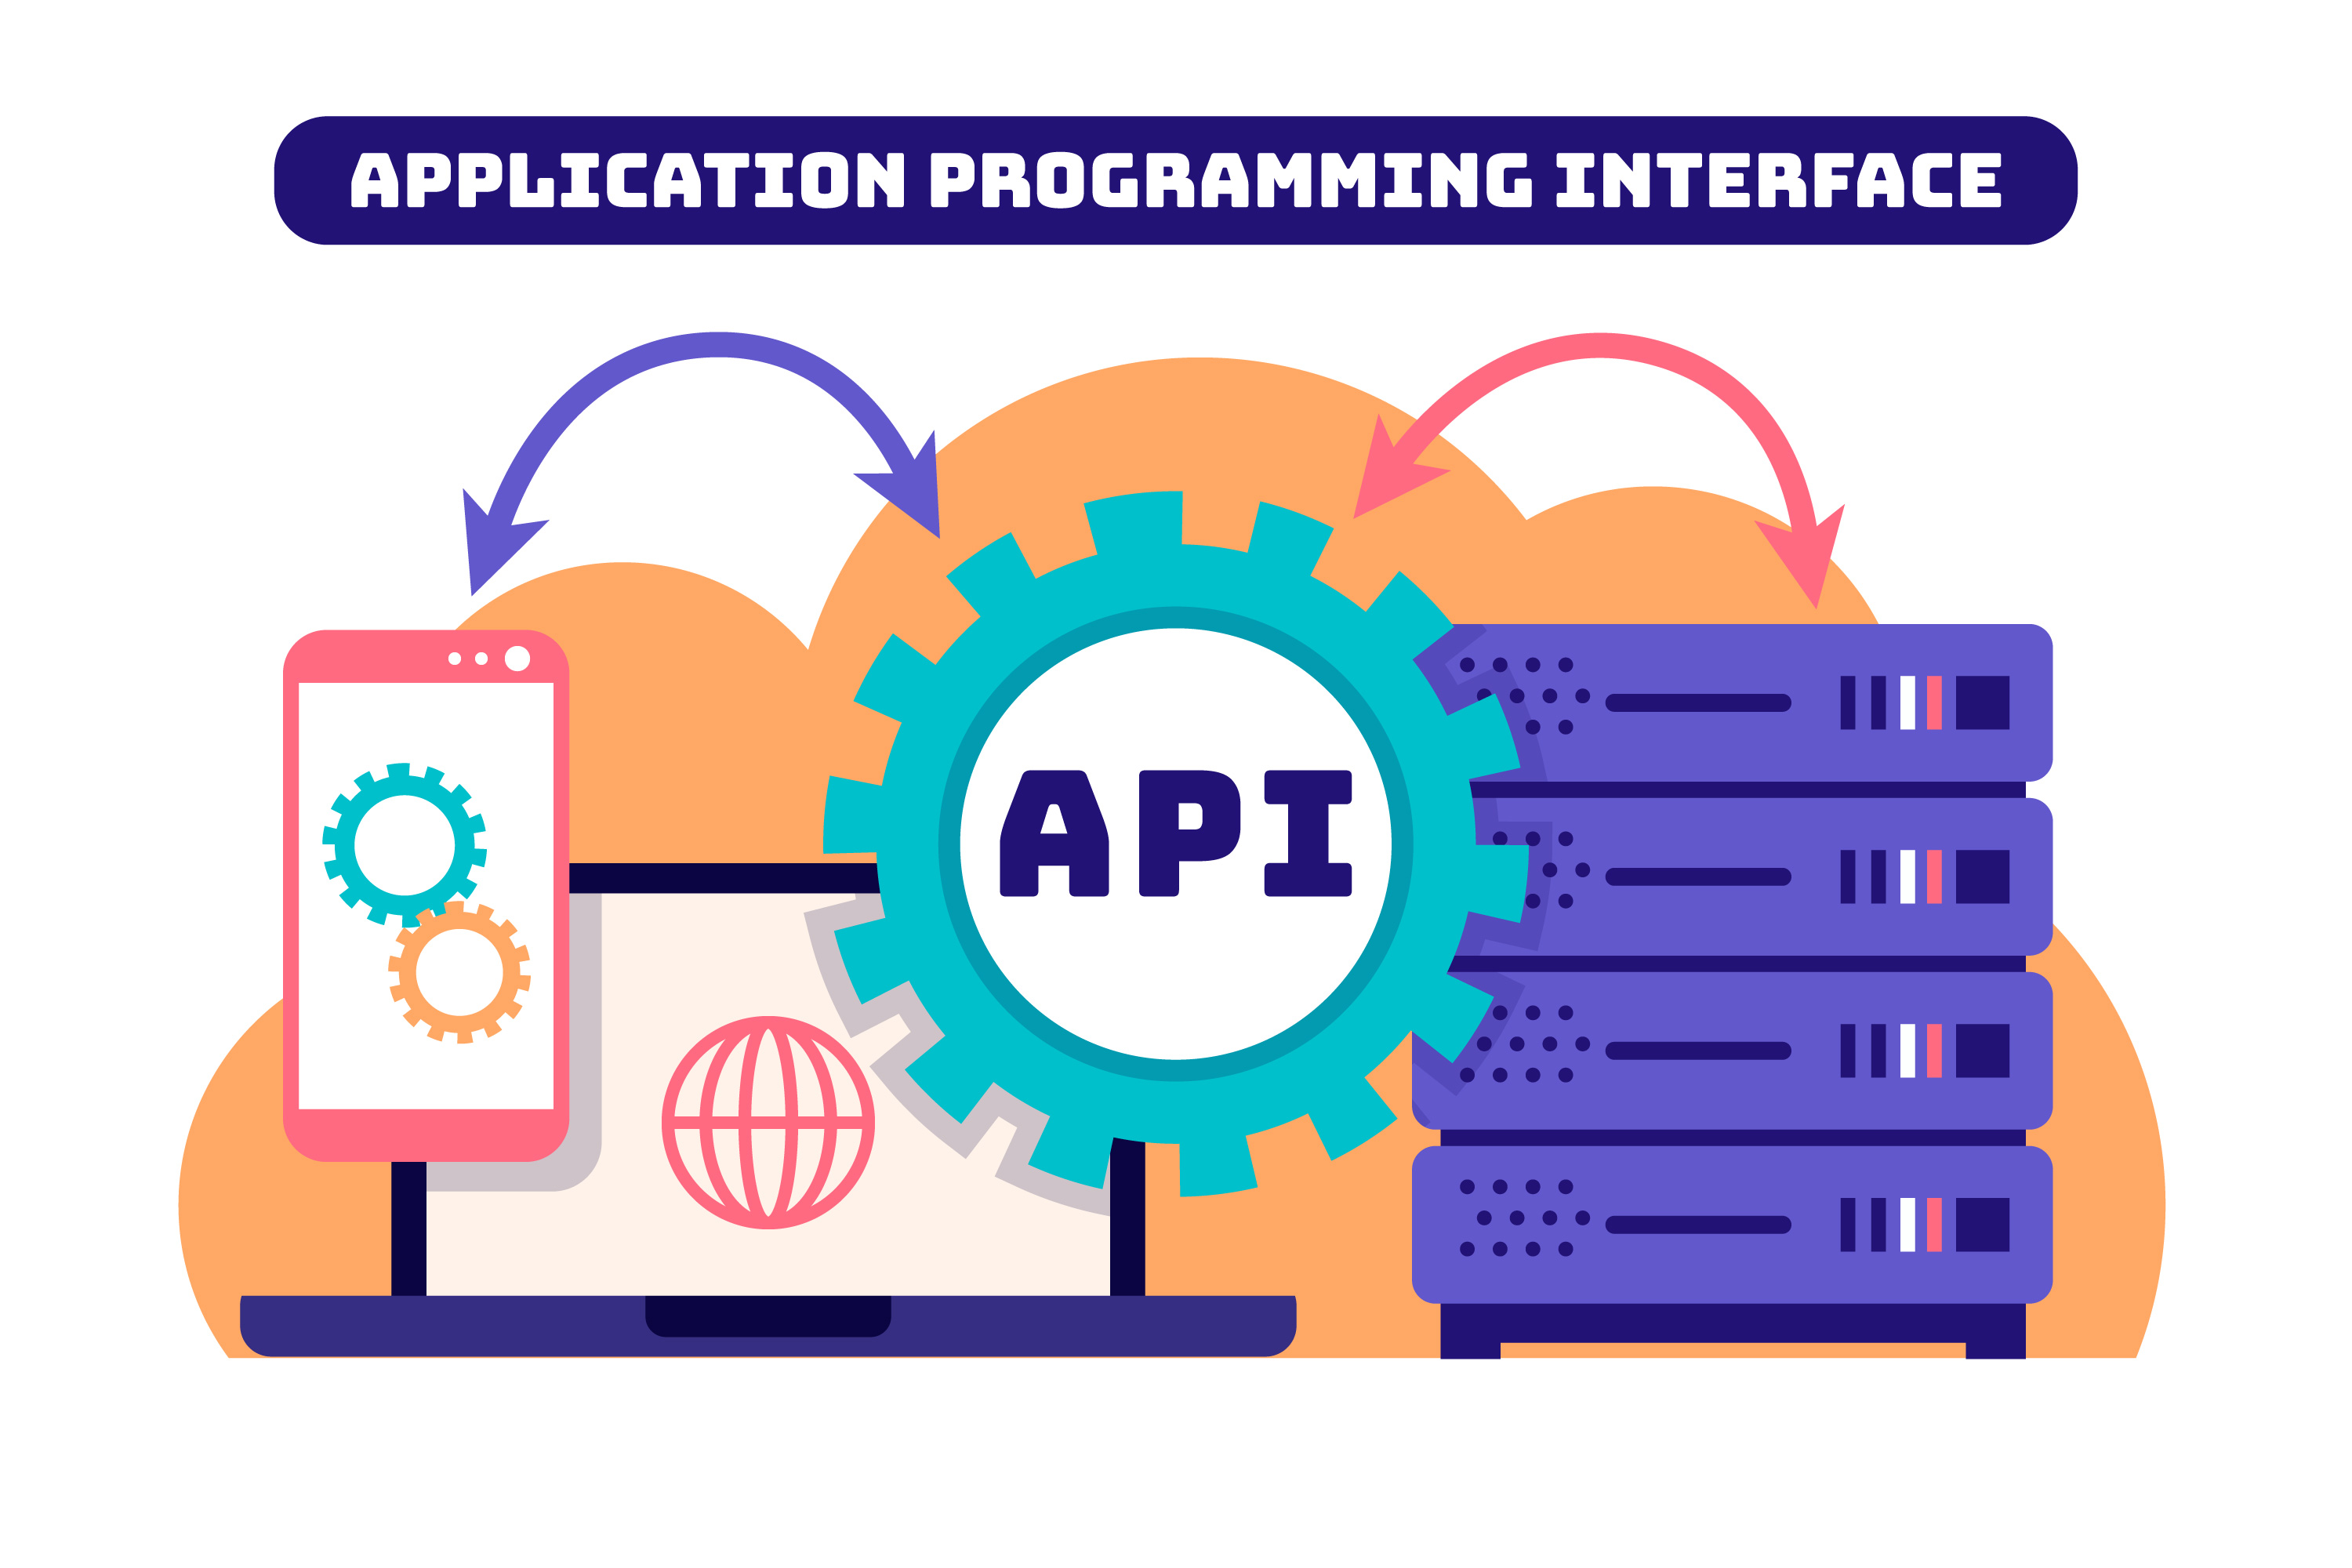
Complete Guide: Build a REST API with Node.js and Express.js
Author: UnknownVPS
In today’s tech-driven world, learning how to build a REST API is a vital skill for developers. Whether you’re planning to create a full-stack app or integrate services, REST APIs are your bridge between different applications. In this guide, we’ll walk you through creating a REST API from scratch using Node.js and Express.js.

What Is a REST API?
A REST API (Representational State Transfer Application Programming Interface) allows applications to communicate over the web. It’s built around HTTP methods like:
- GET: Retrieve data.
- POST: Submit new data.
- PUT: Update existing data.
- DELETE: Remove data.
"REST APIs are the backbone of modern application development."
Prerequisites
Before starting, ensure you have:
- Node.js installed.
- A code editor like Visual Studio Code.
- Basic understanding of JavaScript.
Step 1: Setting Up Your Environment
Open your terminal and create a new project:
mkdir rest-api-project
cd rest-api-project
npm init -y
npm install express
Project Structure
Your project structure should look like this:
rest-api-project/
├── node_modules/
├── package.json
└── index.js
Step 2: Writing Your First Endpoint
Create a new file called index.js and write the following code:
const express = require('express');
const app = express();

app.get('/', (req, res) => {
  res.send('Welcome to my REST API!');
});

const PORT = 3000;
app.listen(PORT, () => {
  console.log(`Server running at http://localhost:${PORT}`);
});
Run the server:
node index.jsVisit http://localhost:3000 in your browser to see the message.
Step 3: Adding CRUD Operations
Expand your API to include basic CRUD operations:
app.use(express.json());

let items = [{ id: 1, name: 'Item 1' }];

// GET all items
app.get('/items', (req, res) => {
  res.json(items);
});

// POST a new item
app.post('/items', (req, res) => {
  const newItem = { id: items.length + 1, name: req.body.name };
  items.push(newItem);
  res.status(201).json(newItem);
});

// DELETE an item
app.delete('/items/:id', (req, res) => {
  items = items.filter(item => item.id !== parseInt(req.params.id));
  res.status(204).send();
});
Step 4: Testing Your API
Use tools like Postman to test your API endpoints. You can send GET, POST, and DELETE requests to verify the functionality.
Step 5: Deploying Your API
Once your API is ready, deploy it using a platform like Render or Vercel. Push your code to a GitHub repository and follow the deployment instructions provided by the platform.
Advanced Features to Add
- Database integration with MongoDB or MySQL.
- Authentication using JWT or OAuth.
- Pagination for large datasets.
- Rate limiting to prevent abuse.
Best Practices
Follow these best practices to create a robust API:
- Use proper HTTP status codes (e.g., 200 for success, 404 for not found).
- Secure your API with authentication and validation.
- Document your API using Swagger or Postman collections.
Conclusion
Congratulations! You’ve built a REST API using Node.js and Express.js. This project is an excellent foundation for learning backend development and creating real-world applications. Share your API with others and explore advanced topics to further enhance your skills.


If you're launching a website in 2025, choosing the right host is key. Don’t miss this guide on the, Check it out: best web host ||
ReplyDeleteThe Best small business hosting